Are you craving perfectly melted chocolate chips but worried about ruining them in the microwave? You’re not alone.
Melting chocolate can feel tricky, and one wrong move might leave you with burnt or clumpy mess instead of smooth, creamy chocolate. But what if you could melt your chocolate chips quickly, easily, and without stress? You’ll discover simple tips and foolproof steps to melt chocolate chips in the microwave like a pro.
Keep reading to unlock the secret to silky chocolate that will take your recipes to the next level.
Microwave Melting Basics
Melting chocolate chips in the microwave is a quick and convenient way to get smooth, melted chocolate for your recipes. However, it requires a bit of care and attention to avoid burning or seizing the chocolate. Understanding the basics will help you get perfect results every time.
Choosing The Right Chocolate Chips
Not all chocolate chips melt the same way. Look for chips labeled as “melting” or “baking” chocolate for the best texture. Regular chocolate chips often contain stabilizers that help them hold their shape, which can make melting a bit tricky.
If you only have standard chocolate chips, you can still melt them, but expect a slightly thicker consistency. Try using high-quality semisweet or bittersweet chips if you want a richer taste and smoother melt. Have you noticed how some chips melt faster and more evenly than others?
Microwave Settings To Use
Set your microwave to medium or 50% power to prevent overheating. High heat can cause the chocolate to scorch quickly. Heating in short bursts of 15 to 20 seconds is key to controlling the melt.
After each burst, stir the chocolate well. This distributes the heat evenly and helps avoid hot spots. Stirring might seem tedious, but it’s the secret to silky, lump-free chocolate.
- Use a microwave-safe bowl, preferably glass or ceramic.
- Heat in 15-20 second intervals.
- Stir thoroughly after each interval.
- Stop heating once most of the chips are melted and stir until smooth.
Have you ever overheated chocolate and ended up with a grainy mess? Adjusting power and timing can save your batch from that fate.
Step-by-step Melting Process
Melting chocolate chips in the microwave is a quick and convenient way to get smooth, luscious chocolate ready for your recipes. However, it requires a gentle touch to avoid burning or seizing the chocolate. Here’s a clear, easy-to-follow process to ensure your chocolate melts perfectly every time.
Preparing Chocolate Chips
Start by measuring out the exact amount of chocolate chips you need. Use a microwave-safe bowl, preferably glass or ceramic, as plastic can retain heat unevenly.
Make sure the bowl is dry because any water can cause the chocolate to seize, turning it grainy and unusable. You might want to chop larger chips slightly for even melting, but this is optional if you’re using standard-sized chips.
Melting In Intervals
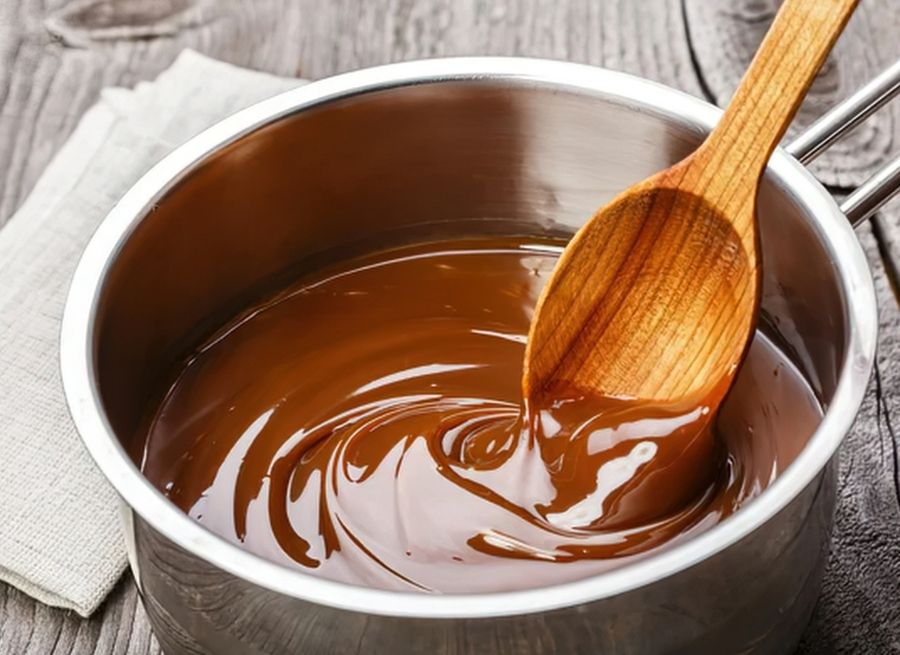
Microwave the chocolate chips on medium power for short bursts of 15 to 20 seconds. Resist the urge to heat continuously; chocolate burns quickly in the microwave.
After each interval, remove the bowl and check the progress. This approach helps you control the melting and prevents overheating.
Stirring For Smoothness
Stir the chocolate chips thoroughly after every heating interval. Even if the chips don’t look melted, stirring helps distribute the heat and promotes uniform melting.
Once most chips have softened, stirring will allow residual heat to finish melting the rest without additional microwaving. This step is key to achieving glossy, silky chocolate ready for your favorite treats.
Tips For Perfect Results
Melting chocolate chips in the microwave can be quick and easy. Yet, simple mistakes can cause the chocolate to burn or seize. Follow some key tips to get smooth, shiny melted chocolate every time. These pointers help keep the chocolate’s texture perfect and make your cooking process smooth.
Avoiding Overheating
Heat chocolate in short bursts of 15 to 20 seconds. Stir well after each burst to spread the heat evenly. Chocolate melts quickly, so watch closely to stop overheating. Overheated chocolate becomes grainy and hard to use. If it looks thick or clumpy, stop microwaving immediately.
Using Microwave-safe Containers
Choose containers labeled microwave-safe to avoid damage or melting. Glass or ceramic bowls work best for melting chocolate. Avoid plastic bowls that might warp or release harmful chemicals. Use a deep bowl to prevent spills while stirring. Clean containers help keep chocolate pure and smooth.
Storage And Handling After Melting
Use melted chocolate right away for best results. If storing, cover the chocolate tightly and keep it cool. Avoid the fridge to prevent condensation, which can cause chocolate to seize. Reheat gently in the microwave for a few seconds before using again. Handle with care to keep texture and shine intact.
Frequently Asked Questions
Can You Melt Chocolate Chips In The Microwave Safely?
Yes, chocolate chips can be melted safely in the microwave using short bursts of heat.
How Long Does It Take To Melt Chocolate Chips In Microwave?
Melting chocolate chips usually takes about 30 seconds to 1 minute in the microwave.
What Is The Best Way To Melt Chocolate Chips In Microwave?
Heat chocolate chips in 20-second intervals, stirring each time until smooth and melted.
Can Melted Chocolate Chips Burn In The Microwave?
Yes, chocolate chips can burn if overheated or microwaved for too long without stirring.
Should You Stir Chocolate Chips While Melting In Microwave?
Stirring chocolate chips while melting helps distribute heat evenly and prevents burning.
Can You Melt Chocolate Chips Directly In The Microwave Bowl?
Yes, use a microwave-safe bowl to melt chocolate chips directly in the microwave.
Conclusion
Melting chocolate chips in the microwave is quick and easy. Use short bursts of heat to avoid burning the chocolate. Stir often to help it melt evenly. Small amounts melt better than large piles. This method saves time and works well for many recipes.
Just watch the chocolate closely to keep it smooth. Now, you can enjoy melted chocolate without any hassle. Simple steps lead to great results every time.

Rachel Bennett is a passionate home cook, kitchen enthusiast, and the voice behind Home Kitchen Mate. With years of hands-on experience experimenting in the kitchen, she blends creativity and practicality to make cooking easier and more enjoyable for everyone.