Your kitchen appliances work hard every day, so keeping them clean is a must. But cleaning them the wrong way can damage their finish or even affect how well they work.
Imagine your oven sparkling inside and out or your blender ready to whip up your favorite smoothie without any leftover grime. You’re just a few simple steps away from that. You’ll discover easy, effective tips to clean your kitchen appliances the right way—saving you time, effort, and stress.
Ready to make your kitchen shine like new? Let’s get started!

Preparing Your Kitchen Appliances
Preparing your kitchen appliances before cleaning is very important. It makes the process safer and easier. Taking a few simple steps helps protect your appliances and yourself.
This preparation ensures you clean effectively without causing damage. Start by gathering the right tools and materials. Then, make sure the appliances are safe to touch and clean.
Gathering Cleaning Supplies
Collect all cleaning supplies before starting. Use mild dish soap, baking soda, white vinegar, and a soft cloth. Avoid harsh chemicals that can damage surfaces.
Have a sponge, soft brush, and microfiber cloth ready. Keep paper towels and a small bowl of warm water nearby. This setup saves time and effort during cleaning.
Unplugging And Cooling Down Appliances
Always unplug appliances before cleaning. This prevents electrical shock and accidental starts. Never clean appliances while they are plugged in.
Let hot appliances cool down completely. Cleaning a hot surface can cause burns and damage the appliance. Wait at least 30 minutes after use before cleaning.
Cleaning The Refrigerator
Cleaning the refrigerator keeps food fresh and prevents bad smells. It also stops germs from growing. A clean fridge helps you find things fast and saves money by reducing waste. Follow these simple steps for the best results.
Emptying And Sorting Contents
Start by taking everything out of the fridge. Check expiry dates on all items. Throw away spoiled or old food. Group similar items together. This makes it easier to put things back later. Use a cool box to keep perishable foods cold while cleaning.
Wiping Shelves And Drawers
Remove shelves and drawers if possible. Wash them with warm soapy water. Use a soft cloth or sponge to avoid scratches. Wipe the inside of the fridge with a damp cloth. Clean corners and seals carefully. Dry everything well before putting it back.
Deodorizing The Fridge
Bad smells can linger after cleaning. Place an open box of baking soda inside. It absorbs odors naturally. Replace the box every three months. Another option is a bowl of coffee grounds or activated charcoal. Keep the fridge door closed to trap freshness.
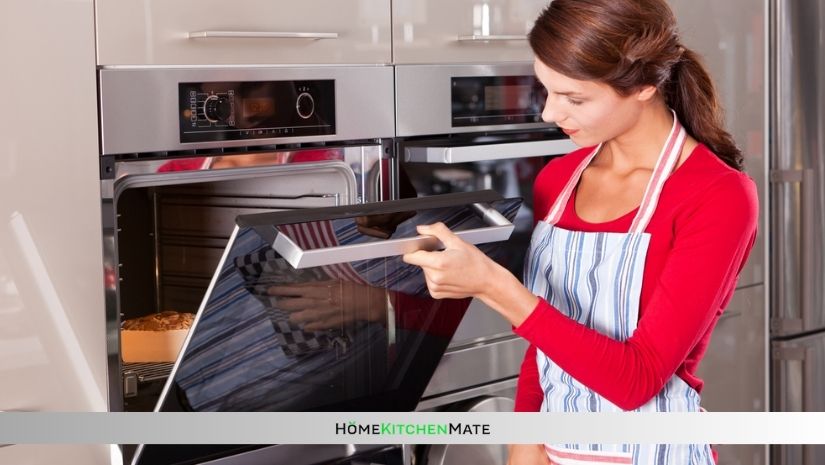
Cleaning The Oven
Cleaning the oven is important to keep it working well and safe. A clean oven cooks food better and stops smells. Dirt and grease can build up fast, so regular cleaning helps a lot. Follow these steps for a simple and effective clean.
Choosing The Right Cleaning Method
Pick a cleaning method that fits your oven type. Self-cleaning ovens have a special cycle that burns off grime. Use this cycle only if your oven has it. For other ovens, use a baking soda paste or a store-bought oven cleaner. Avoid harsh chemicals on older ovens. Natural cleaners like vinegar and baking soda are safe and work well.
Removing Oven Racks
Take out the oven racks before cleaning. This makes it easier to clean the oven interior. Soak racks in warm, soapy water for at least 30 minutes. Use a scrub brush or sponge to remove stuck-on food. Rinse well and dry before putting them back in the oven.
Cleaning The Oven Interior
Start by wiping loose crumbs with a damp cloth. Apply your chosen cleaner to the oven walls and floor. Let it sit for 15 to 30 minutes to break down grease. Use a sponge or soft brush to scrub the surfaces gently. Wipe clean with a wet cloth until no cleaner remains. Leave the oven door open to air dry before use.
Cleaning The Microwave
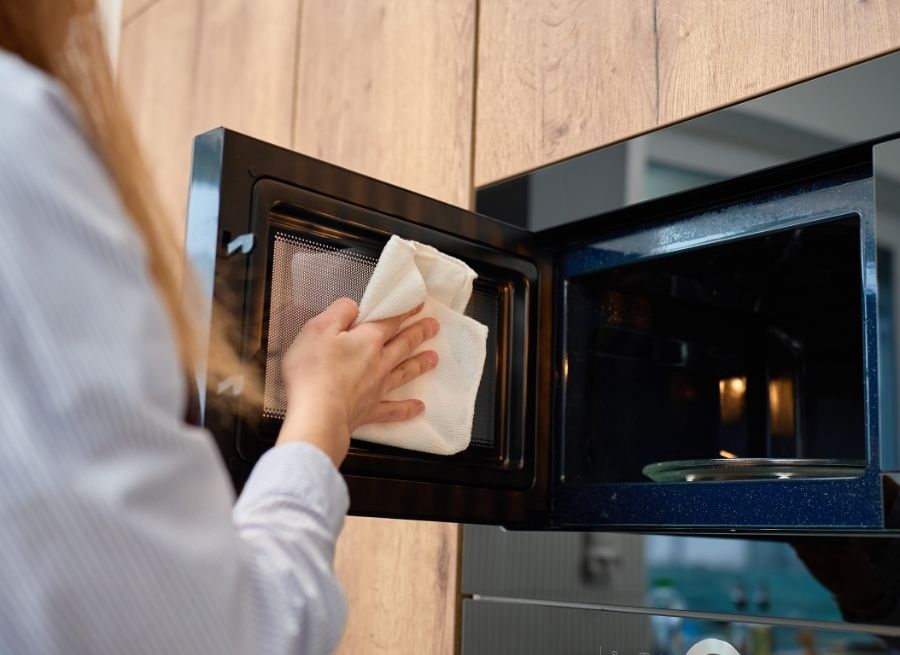
The microwave is one of the busiest appliances in the kitchen. It heats food quickly but can get dirty fast. Cleaning it regularly keeps it working well and stops bad smells. A clean microwave also looks nicer and lasts longer.
Using Steam To Loosen Residue
Steam helps remove stuck-on food inside the microwave. Fill a microwave-safe bowl with water and a splash of vinegar or lemon juice. Heat it on high for 3 to 5 minutes. The steam will soften dried food and stains. Wait a few minutes before opening the door. Then, wipe the inside with a soft cloth or sponge. This method is easy and avoids harsh scrubbing.
Cleaning The Turntable And Walls
Remove the turntable from the microwave. Wash it in warm, soapy water or place it in the dishwasher. Use a damp cloth with mild soap to clean the microwave walls. Avoid using abrasive cleaners that can scratch surfaces. Pay attention to corners and crevices where food can hide. Rinse with a clean cloth and dry everything well before reassembling.
Cleaning The Dishwasher
Cleaning the dishwasher keeps it working well and your dishes spotless. Dirt, food bits, and soap scum can build up inside. Regular cleaning stops smells and clogs. It also helps the machine last longer. Follow simple steps to clean it properly.
Removing Debris And Filters
Start by taking out the bottom rack. Check the drain area for food scraps. Remove any debris to prevent clogs. Next, find the dishwasher filter. It usually sits under the spray arm. Twist or lift it out carefully. Wash the filter with warm, soapy water. Use a soft brush to clear stuck particles. Rinse well before putting it back in place.
Running A Cleaning Cycle
Use a dishwasher cleaner or white vinegar. Place a cup of vinegar on the top rack. Run the dishwasher on the hottest cycle available. The vinegar helps remove grease and odors. For extra cleaning, sprinkle baking soda on the bottom. Run a short, hot cycle after the vinegar. This removes stains and freshens the machine. Keep the dishwasher door open after cleaning. Let it dry completely to stop mold growth.
Cleaning The Coffee Maker
Cleaning the coffee maker is important for good tasting coffee and a long-lasting machine. Regular cleaning removes coffee oils and mineral buildup. This keeps your coffee fresh and the machine working well. Follow simple steps to clean your coffee maker safely and effectively.
Descaling With Vinegar Or Cleaner
Descaling removes hard water minerals inside the coffee maker. Fill the water reservoir with equal parts white vinegar and water. Run a brew cycle without coffee grounds. Stop halfway and let it sit for 30 minutes. Finish the cycle, then run two cycles with clean water to rinse. Use a commercial descaling cleaner if preferred. Repeat every 1-3 months to avoid buildup.
Cleaning Removable Parts
Remove the filter basket, carafe, and any other detachable parts. Wash them with warm, soapy water using a sponge or cloth. Rinse thoroughly to remove soap residue. Dry all parts before putting them back. Clean these parts after every use to prevent coffee stains and mold. Avoid putting parts in the dishwasher unless the manual says it is safe.
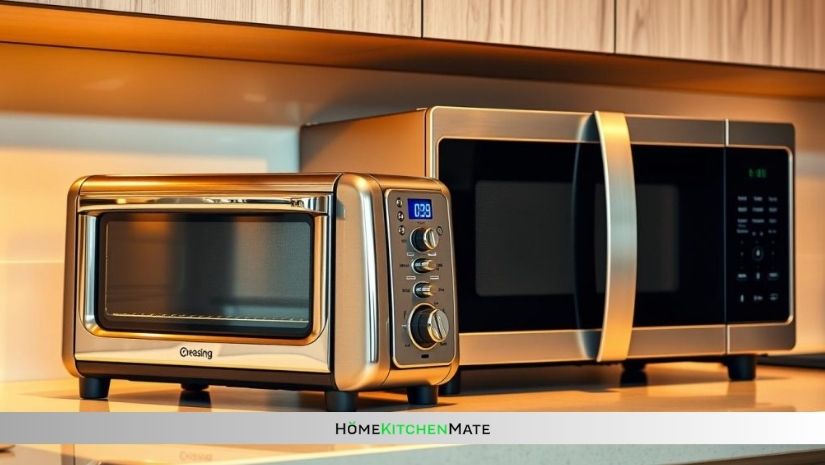
Cleaning The Toaster And Toaster Oven
Keeping your toaster and toaster oven clean improves their performance and safety. Crumbs and grease can build up and cause bad smells or even fires. Regular cleaning keeps these appliances working well and looking nice.
Emptying Crumb Trays
Start by unplugging the appliance to stay safe. Most toasters and toaster ovens have a crumb tray at the bottom. Pull out the tray carefully and empty the crumbs into the trash. Use a soft brush or cloth to remove any stuck crumbs. Wash the tray with warm, soapy water and dry it well before putting it back.
Wiping Exterior And Interior
Use a damp cloth with mild soap to wipe the outside of the appliance. Avoid harsh chemicals that can damage the surface. For the interior, remove any racks or trays first. Wipe inside with a damp cloth or sponge. Be gentle to avoid damaging heating elements. Dry all parts completely before reassembling and using the appliance again.
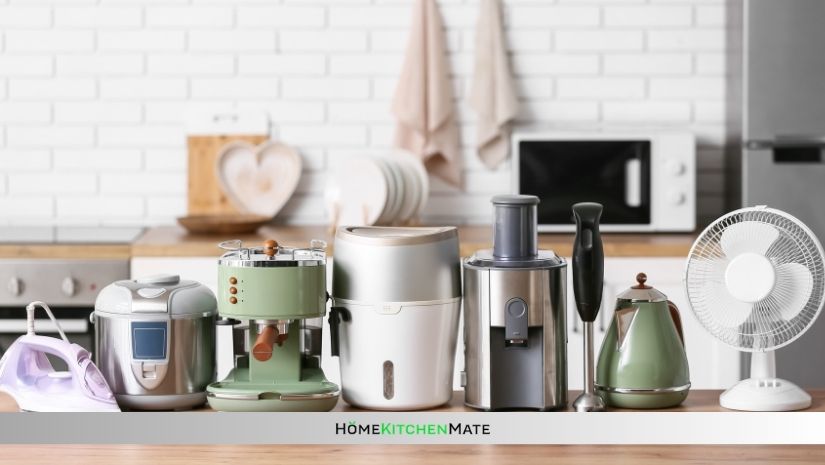
Maintaining Small Appliances
Small kitchen appliances make cooking easier. Keeping them clean helps them last longer. Dirt and food bits can cause problems. Regular cleaning keeps appliances safe and fresh. Follow simple steps to clean each device well.
Cleaning Blenders And Food Processors
Start by unplugging the appliance. Remove blades and containers carefully. Rinse parts with warm water to remove loose food. Use mild dish soap and a soft sponge. Avoid harsh scrubbers that can scratch surfaces. Clean blades gently to avoid cuts. Rinse all parts thoroughly to remove soap. Dry parts completely before reassembling. Wipe the base with a damp cloth only. Never immerse the base in water to protect the motor.
Wiping Mixers And Handheld Devices
Unplug the device before cleaning. Use a damp cloth to wipe the body. Clean buttons and knobs carefully to avoid water damage. Remove attachments and wash them in warm, soapy water. Dry attachments fully before storing. For stubborn spots, use a soft brush. Keep cords untangled and away from water. Regular wiping stops grease and dust buildup. This simple routine keeps your devices working well.
Tips For Safe And Effective Cleaning
Cleaning kitchen appliances safely protects both the appliance and your health. Using the right methods keeps appliances working longer and prevents damage. Follow these simple tips for effective and safe cleaning.
Small habits make a big difference. Clean regularly and avoid harmful products. This approach saves time and effort in the long run.
Avoiding Harsh Chemicals
Harsh chemicals can damage appliance surfaces and internal parts. They may also cause skin irritation or breathing problems. Use mild dish soap or natural cleaners instead. Always read labels to avoid harmful ingredients. Test cleaners on a small, hidden area first. Avoid bleach and ammonia near food-contact surfaces. Natural options like vinegar or baking soda work well. They clean without harmful fumes or residue.
Regular Maintenance Routines
Set a schedule for cleaning appliances regularly. Wipe spills immediately to prevent buildup. Clean filters, vents, and seals often to keep appliances efficient. Check the manufacturer’s instructions for care tips. Regular maintenance reduces the need for deep cleaning. It helps spot problems early, saving repair costs. Consistent care keeps appliances safe and working well.
Frequently Asked Questions
How Often Should I Clean Kitchen Appliances?
Clean kitchen appliances weekly to prevent buildup and maintain hygiene. Regular cleaning extends appliance life and improves performance. Some items like microwaves or coffee makers may need daily wiping, while others like ovens can be cleaned monthly.
What Is The Safest Cleaner For Kitchen Appliances?
Use mild dish soap mixed with warm water for most appliances. Avoid harsh chemicals or abrasive scrubbers to prevent damage. For stainless steel, use a specialized cleaner or vinegar solution to maintain shine safely.
Can I Clean Kitchen Appliances With Vinegar?
Yes, vinegar is a natural, effective cleaner for many appliances. It removes grease, odors, and mineral deposits safely. Always dilute vinegar with water and test on a small area first to avoid damage.
How Do I Clean Stainless Steel Appliances Without Streaks?
Use a microfiber cloth and a stainless steel cleaner or vinegar-water solution. Wipe in the grain’s direction for a streak-free finish. Avoid abrasive pads or cleaners that cause scratches or dullness.
Conclusion
Cleaning kitchen appliances regularly keeps them working well and safe. Use gentle cleaners and soft cloths to avoid damage. Small steps, like wiping spills right away, help a lot. Clean appliances last longer and look better. A clean kitchen feels fresh and inviting.
Start with one appliance today and keep going. Your kitchen will thank you.

Rachel Bennett is a passionate home cook, kitchen enthusiast, and the voice behind Home Kitchen Mate. With years of hands-on experience experimenting in the kitchen, she blends creativity and practicality to make cooking easier and more enjoyable for everyone.